Add a Virtual Node
Typically you want to push your apps to a “real edge node”. However, if you do not have a device to test on, you can simulate one using the Virtual Node feature.
Adding a Virtual Node sets up a new Ubuntu VM locally and registers it as a node to a Edgeworx Cloud project via the edgectl CLI. MacOS and Windows users can create Virtual Nodes using Edgeworx Cloud Portal and edgectl. Linux users can directly use the Register Node command on their terminal.
Prerequisites
- Edgeworx Cloud Account (Free)
- Install edgectl CLI
- Install Multipass : it is used by edgectl to manage VMs.
Creating a Virtual Node
Add a Virtual Node using Edgeworx Cloud Portal
Log into Edgeworx Cloud and select the project to which you want to add the node.
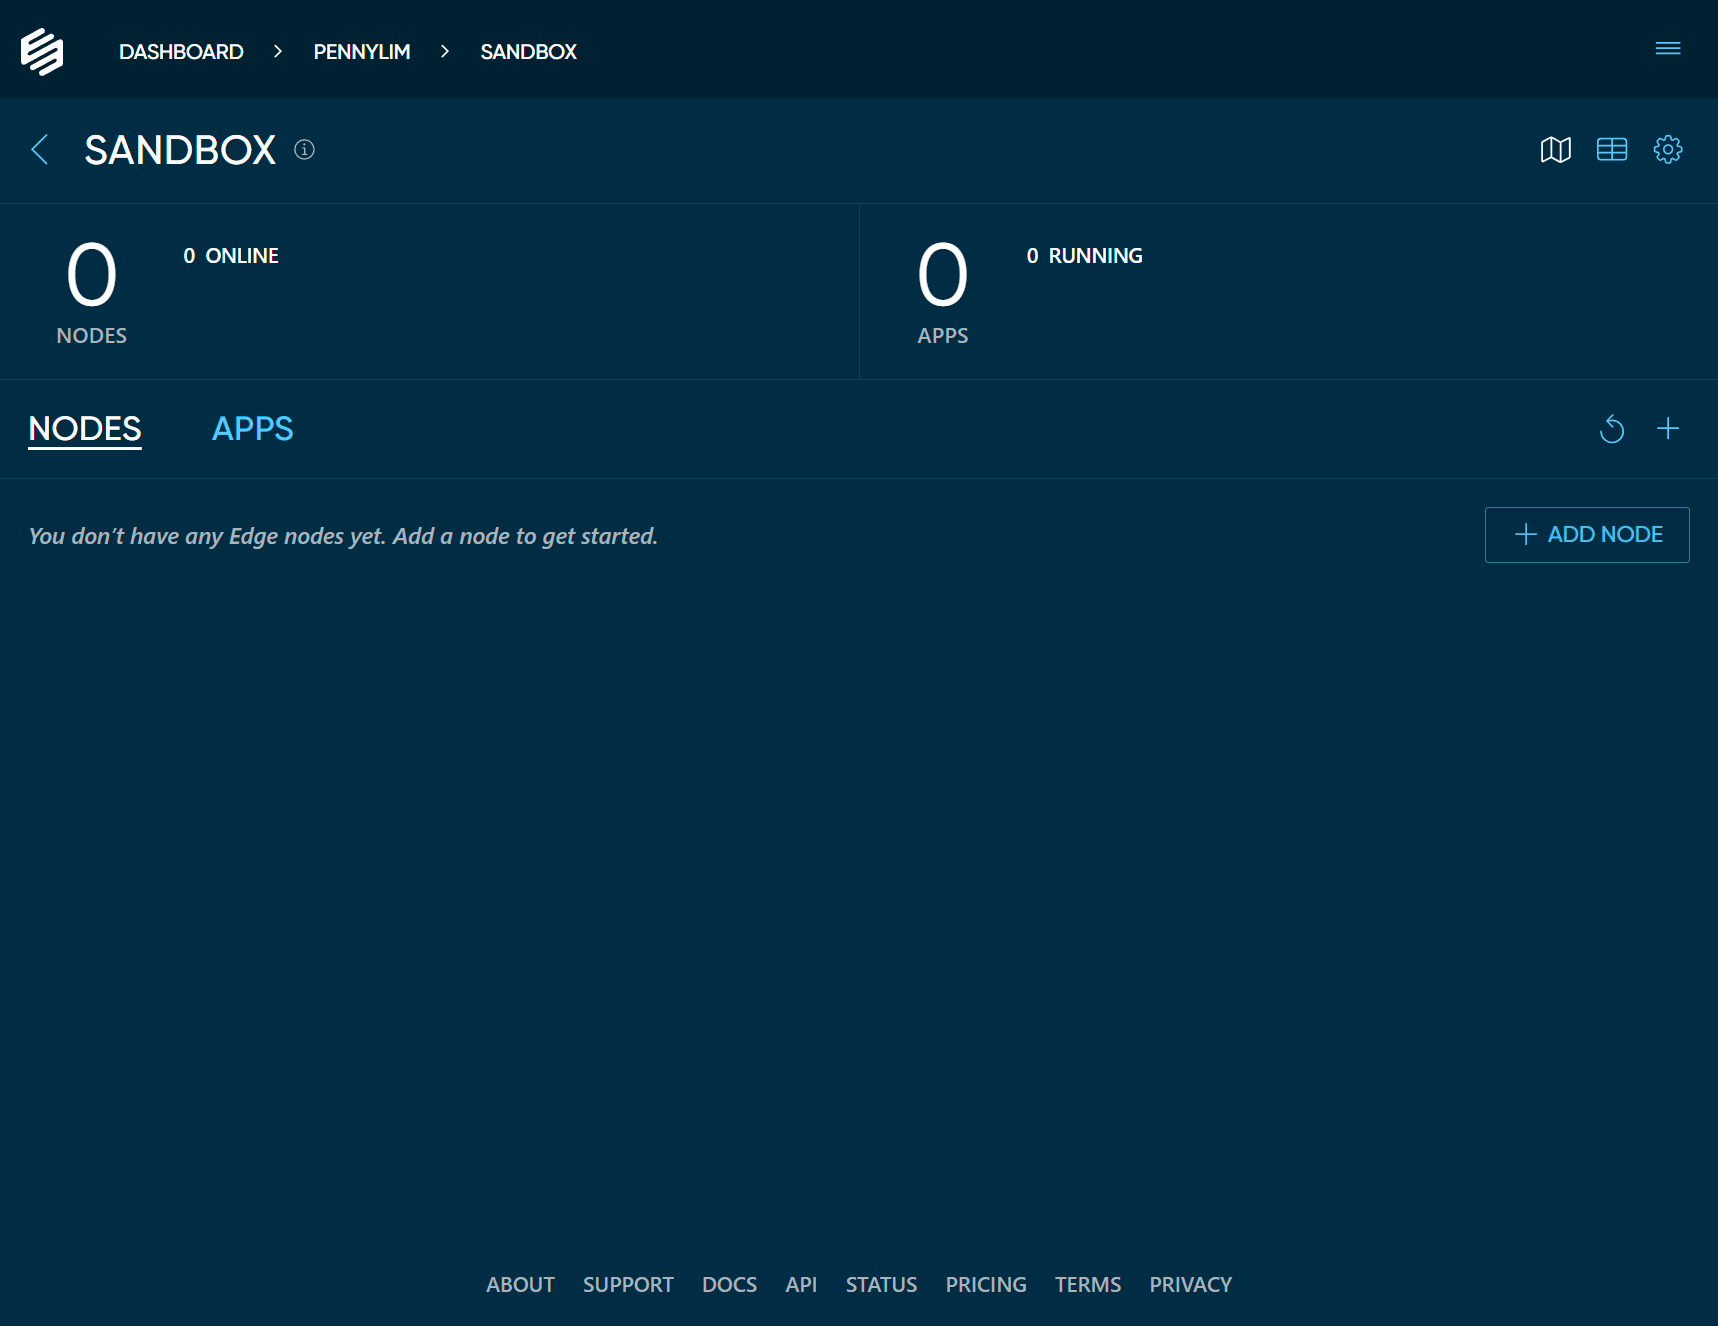
Click the + ADD NODE button. This will bring up a modal dialog which shows the different types of
nodes you can add to your project.
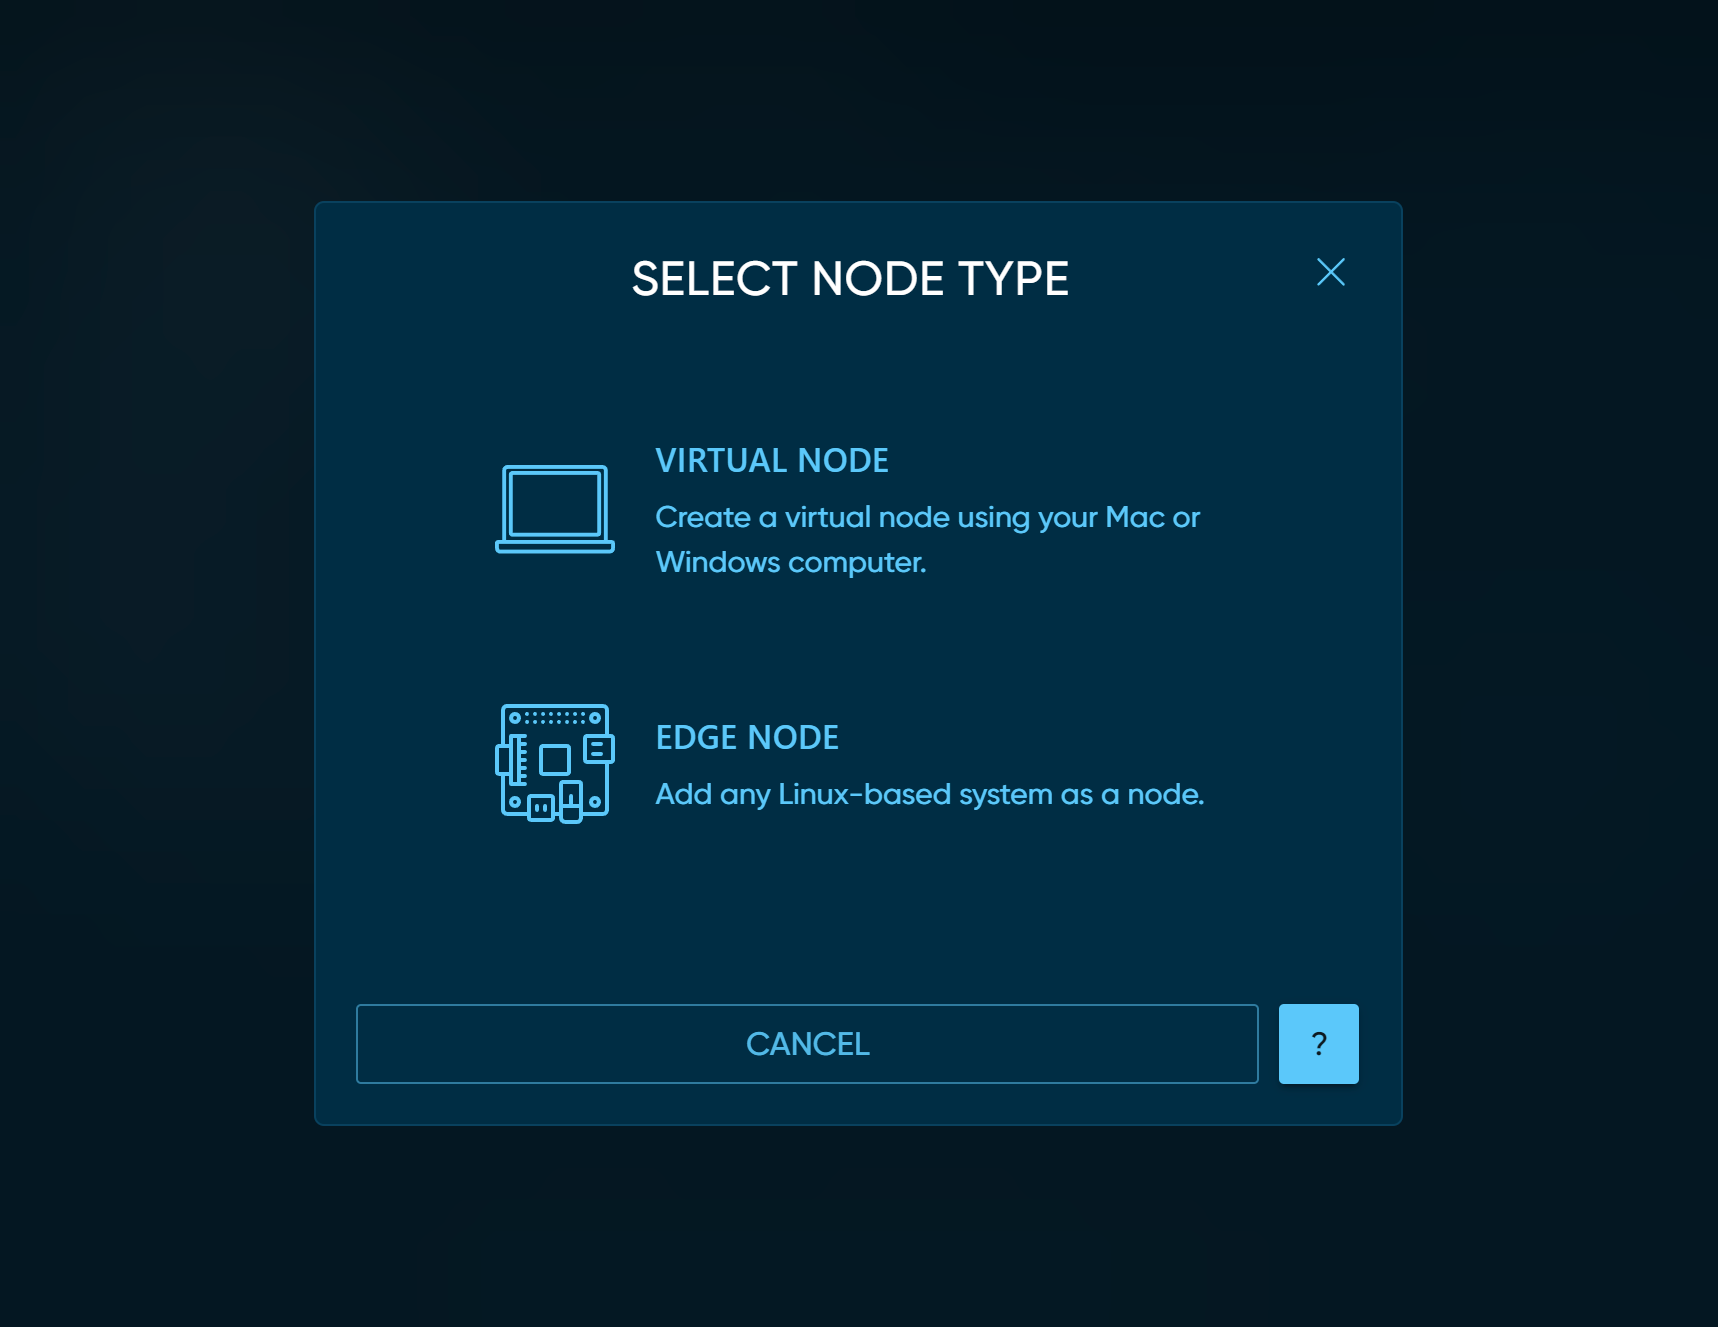
Choose VIRTUAL NODE to get the instructions for adding a virtual node.
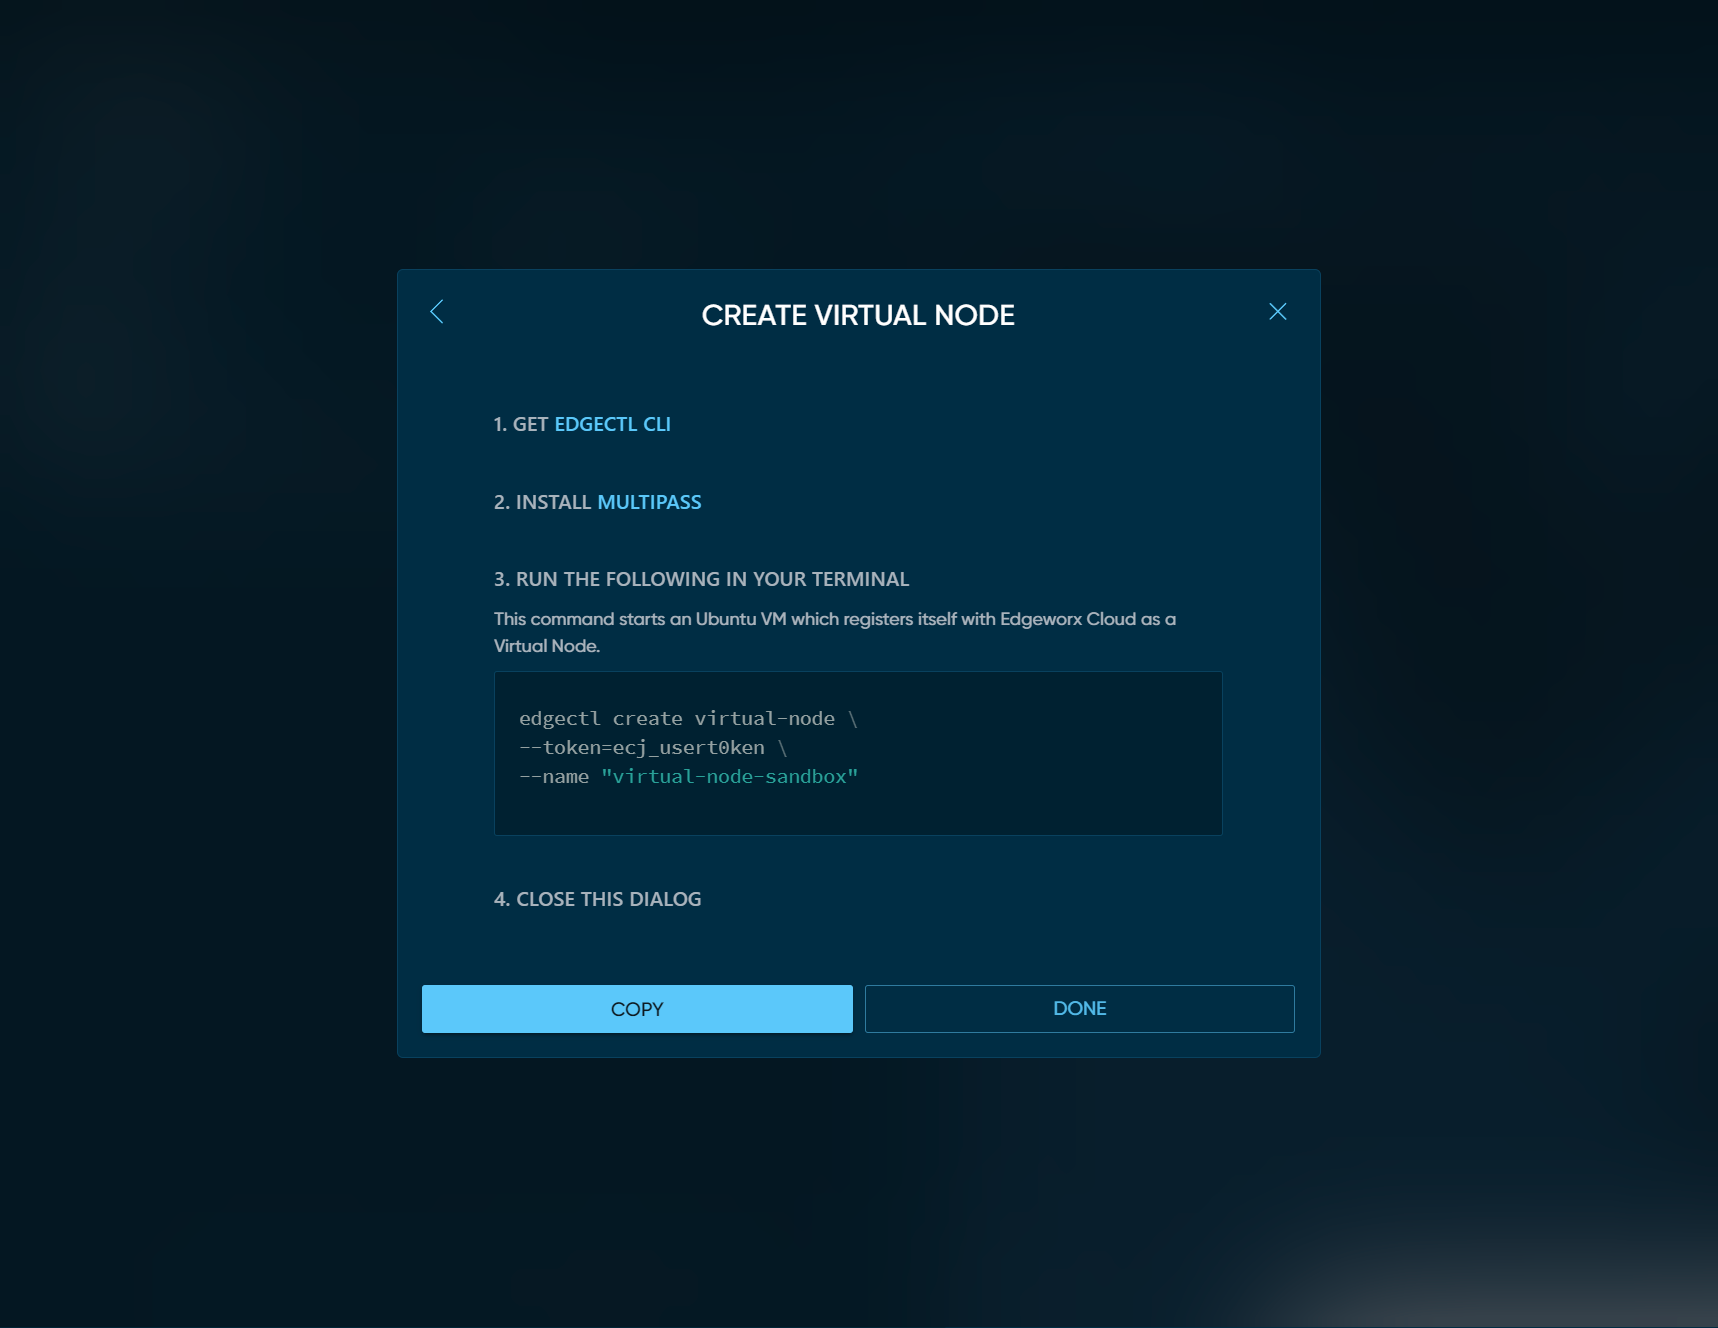
Make sure you have the latest versions of
edgectl
and
Multipass
installed. Click the COPY button to copy the command to
your clipboard. This command starts an Ubuntu VM which registers
itself with Edgeworx Cloud as a Virtual Node.
Run the Virtual Node Registration Script
Paste the command line that you copied in the previous step into your local terminal. The entire install process can take up to a few minutes (depending on the spec of your machine, your internet connection speed, and other dependencies).
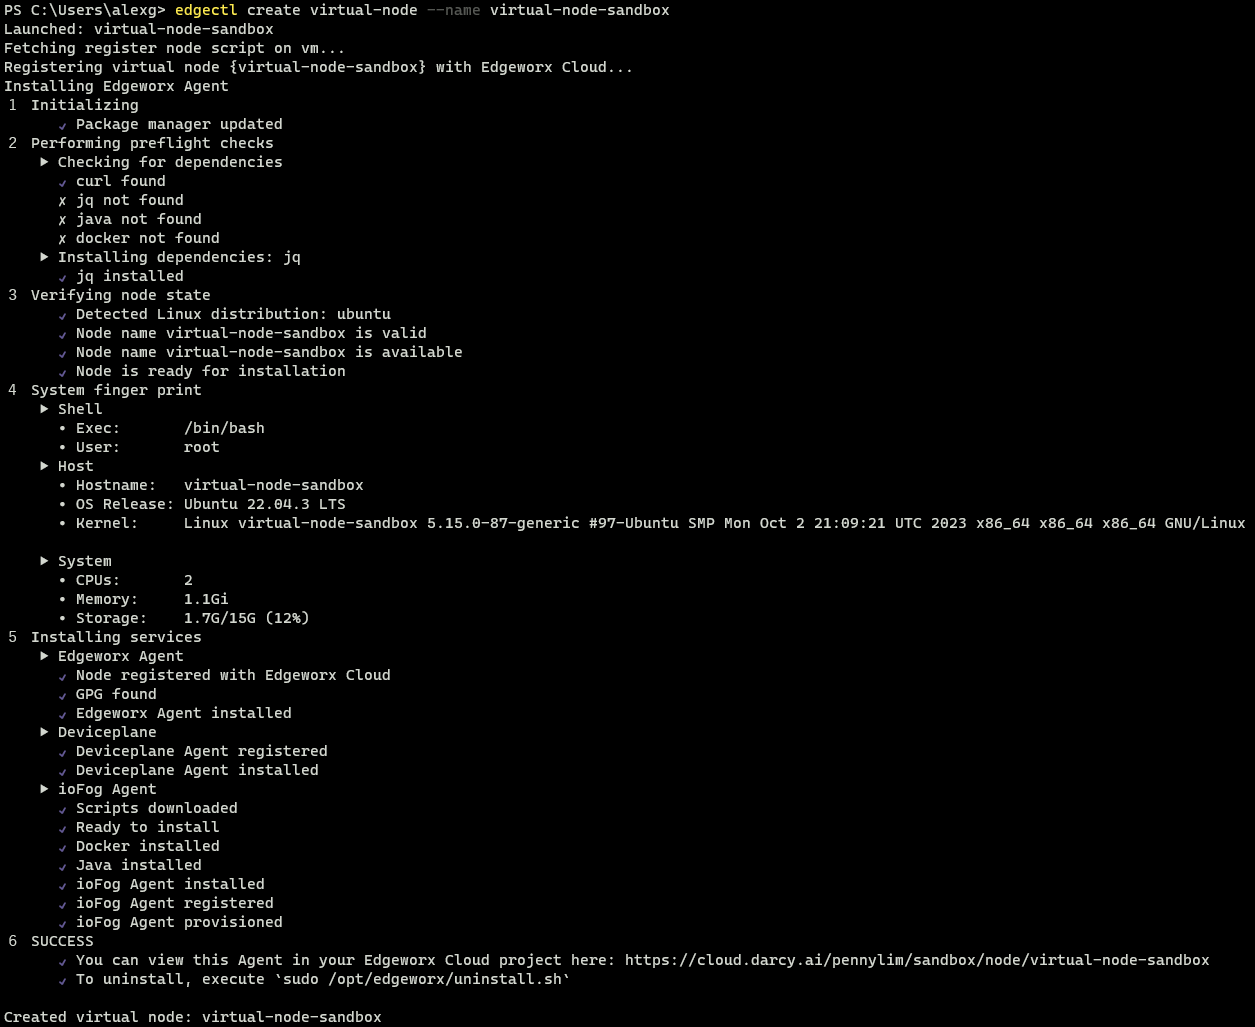
--name="your-choice-of-name" in the edgectl create virtual-node command as seen in the above
example.View the Node in Your Edgeworx Cloud Project
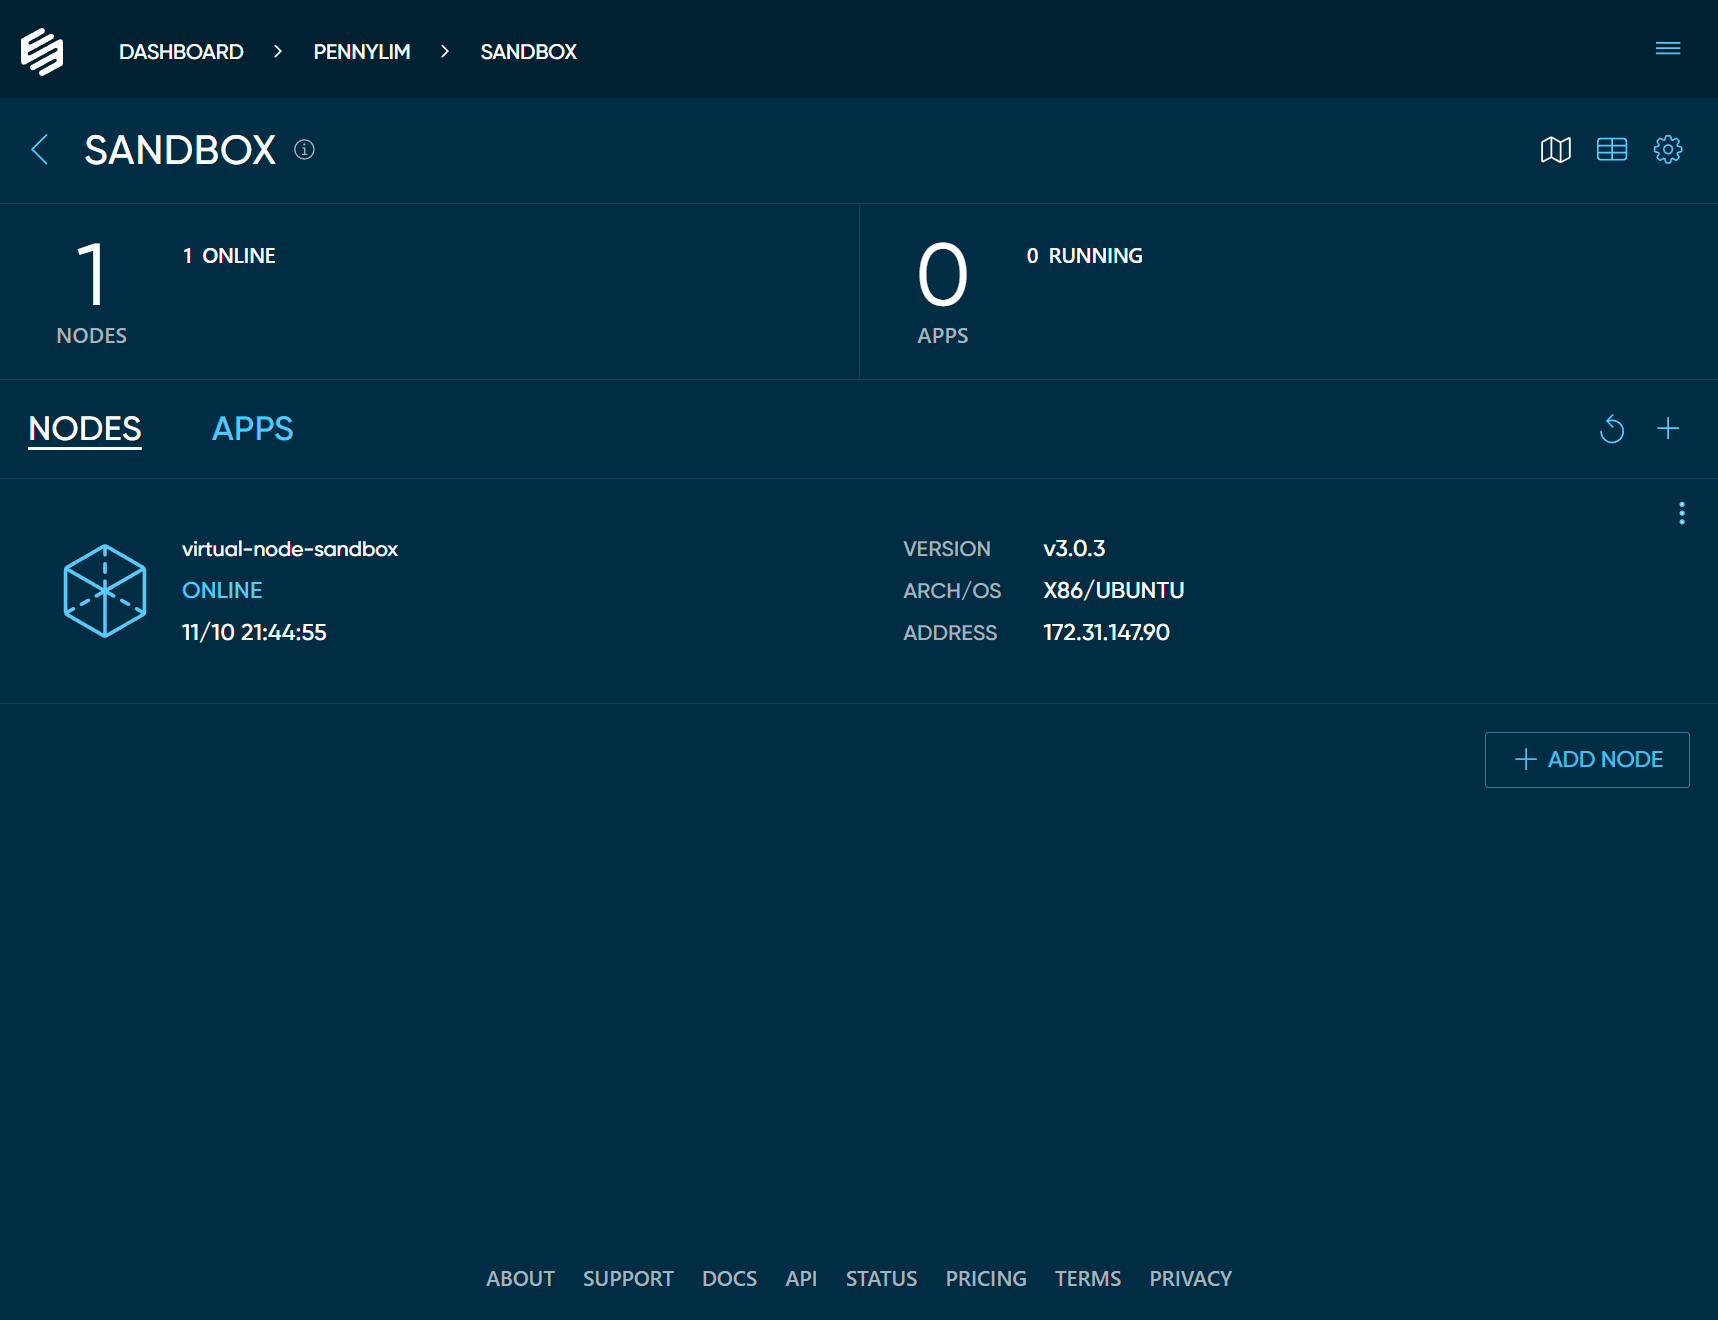
Switch back to Edgeworx Cloud in your browser and if you have not done so yet, click the DONE button
in the modal dialog. You should see your new node ONLINE in your Nodes list. If you do not see
your node online, see troubleshooting (below) for more information.
You now have an edge node, let’s start using it!
Add a Virtual Node using edgectl
If you do not have edgectl, open the hamburger menu in the top right of the portal and click the Get the CLI link. A modal will appear with a script Linux, MacOS, and Windows.
Once you log into your account via the CLI, set your default Org and Project and run the below command to view any nodes in the project.
edgectl login
edgectl set default org xxxxxx
edgectl set default project xxxxxx
## Replace x's with your appropriate Org and Project name
You can then create a Virtual Node using the below command.
edgectl create virtual-node
You can use Multipass’ flags in edgectl to control the amount of memory, CPU cores, and storage the Virtual Node allocates.
Delete a Virtual Node
We recommend using edgectl delete virtual-node command to delete the Virtual Node after use, so
that all the resources used are cleaned up properly i.e. Ubuntu VM.
edgectl delete virtual-node <nameofnode> or multipass delete <nameofvm> on the host machine will delete the virtual machine.Troubleshooting
Unable to create Virtual Node with default values on Windows machine
We can modify the default values based on our Windows machine spec. For example:edgectl create virtual-node --name=Edgeworx-node --cpus 2
Below are the default values used to spin up a multipass VM.
-d, --disk    string   Disk space to allocate. Positive integers, in bytes, or with K, M, G suffix. Minimum: 512M, default: 15G.
-c, --cpus    string   Number of CPUs to allocate. Minimum: 1, default: 2.
-m, --mem     string   Amount of memory to allocate. Positive integers, in  bytes, or with K, M, G suffix. Minimum: 128M, default: 1G.
    --network string   Add a network interface to the instance, where <spec> is in the "key=value,key=value" format, with the following keys available:
                       name: the network to connect to (required), use the networks command for a list of possible values,
                       or use 'bridged' to use the interface configured via "multipass set local.bridged-network".
                       mode: auto|manual (default: auto) mac: hardware address (default: random).
                     You can also use a shortcut of "<name>" to mean "name=<name>"
Unable to view the output from a Virtual Node (incorrect IP).
Known Issue: Depending on the particular network setup, the Virtual Node IP address displayed in the portal may not be correct. Usemultipass ls to retrieve the correct IP.Use edgectl delete virtual-node in favor of edgectl delete node.
The edgectl delete node command deletes the node from Edgeworx Cloud, but does not delete the local VM.
Use edgectl delete virtual-node
to delete both the node and the local VM.